Health & Fitness
Paint like a pro: Tips for home exterior painting
Now that summer is here, it’s time to get outside and tackle larger home improvement projects. Whether your old exterior paint is cracking and peeling, or you just want to change your home’s appearance, repainting doesn’t have to be a difficult process. Add value and appeal to your home with these tips to help you paint your home’s exterior:
Check the weather
Before setting up to paint, first check the weather. Wind and rain are the biggest obstacles. If these conditions are in the forecast, it’s best to postpone this task. Temperature is another weather factor that painters must consider. On a blistering hot day, the siding in direct sunlight can get extremely hot. Intense heat can cause the paint to instantaneously dry upon contact, making it impossible to cover the surface smoothly. To combat extreme heat, start by painting areas of the house that are shaded. Spraying is a technique to consider on really hot days – but this may require purchasing or renting expensive sprayers and pumps. The cold can also disrupt your paint job. Most paint brands suggest applying paint in temperatures above 50 degrees Fahrenheit, for optimal finish and coverage.
Find out what's happening in Powaywith free, real-time updates from Patch.
Clean the exterior surface
Thorough surface preparation will help you get the best exterior finish possible. First, rinse the house using a garden hose with a pressurized nozzle. Make sure to rinse top to bottom, removing all the dirt, grime, cobwebs and any other build ups on the surface. Some experts suggest rinsing with a trisodium phosphate solution, which will break up the chalky residue that accumulates on old exterior paint as it weathers, but this treatment is optional.
Find out what's happening in Powaywith free, real-time updates from Patch.
After the rinse, while the house is drying, do a visual inspection of the siding, and around windows and doors. Look for places where paint is peeling or bubbling off the siding. To fix these spots, lightly scrape off the larger flakes and sand away the loose paint until smooth. For bubbles, use a razor knife to cut around the protrusion, then scrape and sand. Also look for any nail-pops – places where the nails have begun to back out of the siding. Using a hammer and nail-set, tap any nail-pops back to flush with the surface. If a nail won’t stay flush, you can remove it and fill the hole with a smoothed over dab of caulk. Finally, check around the doors and windows for gaps between the siding and trim. Fill the gaps with exterior, paintable caulk and wipe away the excess with a clean, damp cloth.
Types of paint
Regardless of color, for the majority of surfaces there are only two types of exterior paints to choose from, latex and oil-based. If you’re repainting over an existing finish, the best plan is to cover it with the same kind of paint. New latex paint doesn’t adhere very well to old oil-based, and vice versa. Latex paint is most commonly used, however the oil-based paints are more durable and stain resistant. Oil-based paints will flow smoother on to the surface when brushed or rolled, leaving fewer brush and roller streaks after it dries. In warmer dry, climates use a latex paint because its expansive properties will prevent cracking in the heat as expansion occurs. Yet in damp, cooler climates, oil-based paints won’t freeze, shrink and crack like the latex alternative. Furthermore, latex paint dries quicker, is less odorous and is easier to clean up after. Latex paint can be cleaned up with soap and warm water, whereas industrial grade chemicals – mineral spirits and thinners – are required for oil-based paint clean up. If you’re still unsure which paint is best for your project, HGTV offers Painting 101.
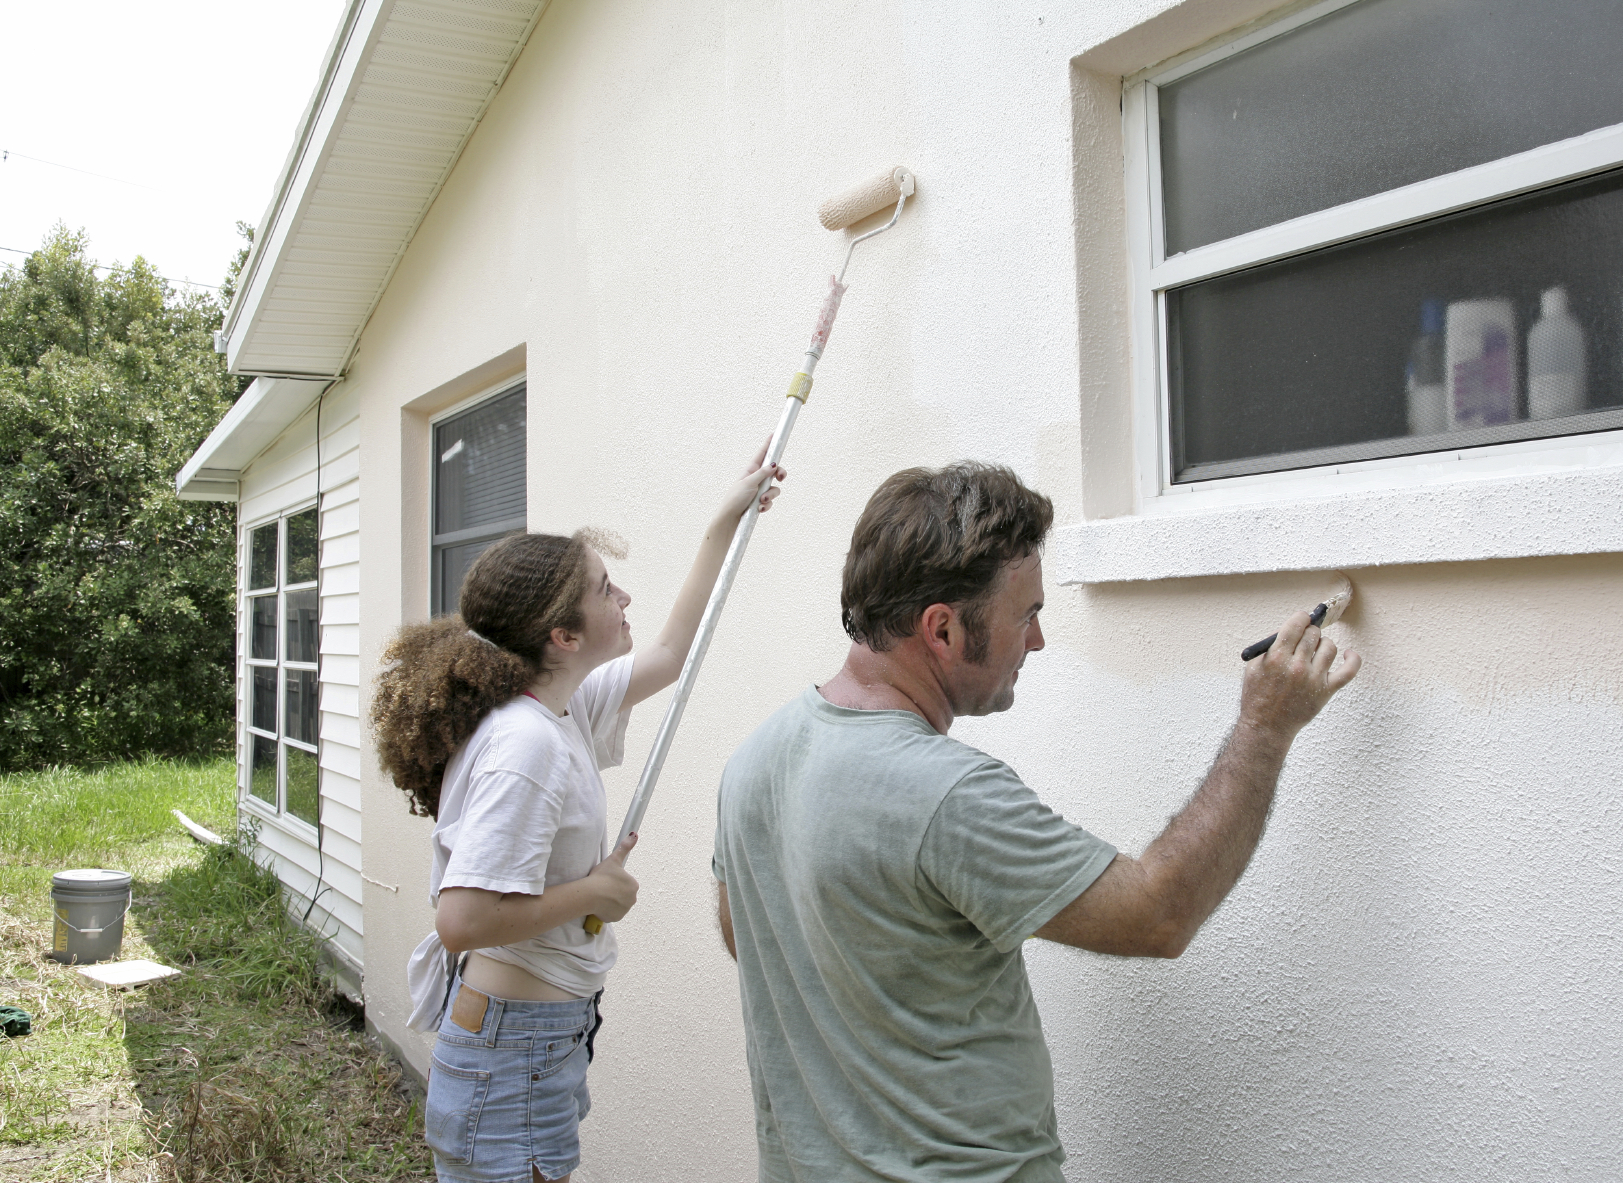
Painting the house
There are several different methods to painting a house: brushing, rolling and spraying. As mentioned before, spraying may involve purchase or rental of expensive tools. A spray on finish, when properly applied, is the smoothest, but also carries the most risk for mess. Overspray on the roof, trims, windows and foundation can make even a freshly painted house look sloppy, and can end up costing you extra money on cleanup. Spraying is more versatile and can be done on all surfaces, whereas a brush and a roller will not efficiently work on excessively rough surfaces. On coarse surfaces, like stucco, spraying the body of the house may be the only option.
Most homeowners will use a brush and roller method to paint their home’s exterior. Make sure to brush and roll with the grain of the siding, working from the top down. Start at the corners and trims, using a brush to gently push paint into the gaps and seams. Around windows and doors, brush the perimeters, getting as close to the edge as possible. As you coat the edges and corners, you want to drag the paint a few inches out towards the middle and off of trims, so there’s room for the roller to maneuver later. You can use masking tape to prevent getting paint on window and door trims, but it’s often difficult to stick tape to exterior surfaces. Brushing around the edges and corners is known as ‘cutting-in’ your lines. Cutting-in paint is a learned skill, there’s no standard technique. The most efficient painters start a wall by cutting-in all the edges, corners and trims, then use the roller to cover the area between the cut-in sections. The best way to learn is by doing it, click here for further professional cutting-in advice.
Paint storage and disposal
Upon completion of your painting project, you may have left over paint. Keep about a gallon available to use for any future touch ups, but make sure you store it properly. All too often homeowners save paint for years, for touch up purposes only to find a can of unusable, dry paint when they need it. This happens when you store one gallon of paint in the 5-gallon bucket it came in. Store leftover paint in a smaller container. That way there is less room for air in the container, preserving your paint longer.
Even after you’ve set aside the extra for touch ups, you may have more paint than you have room for storage. For proper disposal, latex and oil-based paints have different procedures. Proper disposal of latex paint involves keeping the buckets open and letting the paint dry. Once dry, leave uncovered and discard as normal trash. However, oil-based paints are considered a hazardous waste. Most counties have legal hazardous waste disposal guidelines, usually associated with the local landfill or waste management agencies. Donation is another good way to get rid of unnecessary, unwanted paint. Local charity organizations, churches and youth groups are always accepting donations for their community service projects.


